Monday, July 3, 2023

How to propagate camellias?

 Elwyn 50 Pieces/Bag,Camellia Seeds, Potted Balcony, Planting is Simple, Budding Rate of 95%,Mixing Camellia

Camellias can be propagated through various methods, including seed propagation, cuttings, and air layering. Here's a step-by-step guide on how to propagate camellias using each method:

  1. Seed propagation:

    • Collect ripe seeds from a mature camellia plant.
    • Soak the seeds in water for 24 hours to help with germination.
    • Fill seed trays or small pots with a well-draining potting mix.
    • Place the seeds on top of the soil and lightly press them in.
    • Cover the seeds with a thin layer of soil and mist the surface with water.
    • Keep the soil consistently moist and provide indirect light.
    • The seeds should germinate in 2-4 weeks. Once the seedlings have developed a few sets of leaves, they can be transplanted into larger pots or a prepared garden bed.
  2. Stem cuttings:

    • Take a 4-6 inch cutting from a healthy, non-flowering stem of the camellia plant.
    • Remove the lower leaves, leaving only a few at the tip.
    • Dip the cut end of the stem in rooting hormone powder to encourage root development.
    • Plant the cutting in a pot filled with a well-draining rooting medium, such as a mixture of perlite and peat moss.
    • Place the pot in a warm, bright location with indirect light.
    • Mist the cutting regularly to maintain humidity and keep the soil slightly moist.
    • After a few weeks, the cutting should develop roots. Once the roots are well-established, the cutting can be transplanted into a larger pot or planted in the ground.
  3. Air layering:

    • Select a healthy, non-flowering branch on the camellia plant.
    • Make a 1-inch diagonal cut in the middle of the branch, about a third of the way through the stem.
    • Apply rooting hormone to the cut area.
    • Wrap the cut section with damp sphagnum moss, covering it with plastic wrap to hold the moss in place.
    • Secure the plastic wrap with twine or rubber bands.
    • After several weeks to a few months, roots should form at the cut area.
    • Once roots have developed, carefully cut below the rooted section and plant it in a pot or directly in the ground.

Regardless of the propagation method used, provide the newly propagated camellias with proper care, including regular watering, partial shade, and protection from extreme weather conditions. With patience and attention, you can successfully propagate camellias and expand your collection of these beautiful plants.

 

How to grow camellias?

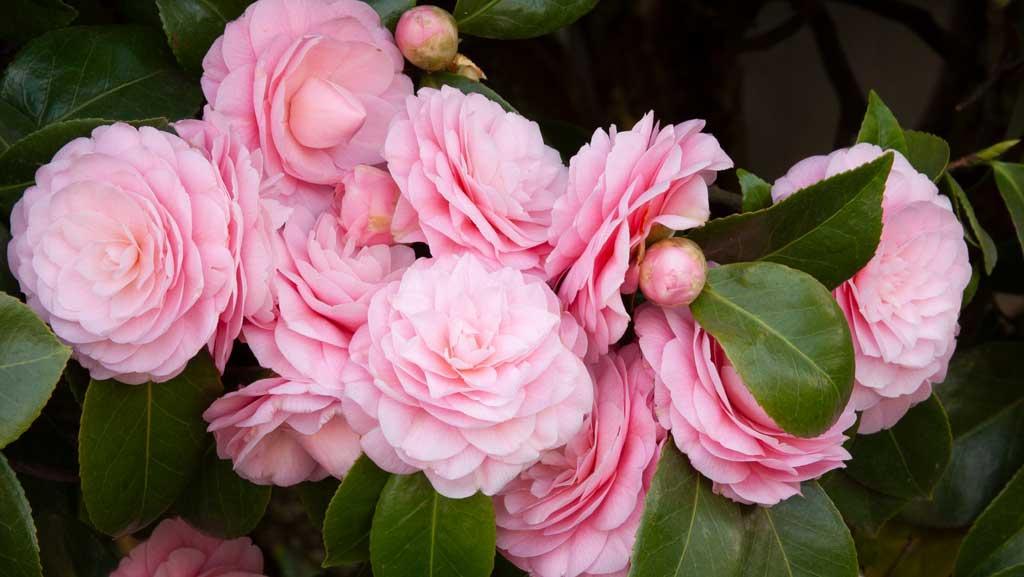
 Six Ways to Design with Camellias in Your Garden

To grow camellias, follow these steps:

  1. Choose the right location: Camellias prefer a sheltered spot with partial shade or filtered sunlight. Avoid areas with direct afternoon sun or strong winds. Ensure the soil is well-draining and slightly acidic.

  2. Prepare the soil: Camellias thrive in well-draining, acidic soil. Amend the soil with organic matter such as compost or peat moss to improve its texture and acidity. Avoid heavy clay soils.

  3. Planting:

    • Dig a hole that is wider and slightly shallower than the root ball of the camellia plant.
    • Place the camellia in the hole, ensuring that the top of the root ball is level with or slightly above the soil surface.
    • Backfill the hole with the amended soil, gently firming it around the roots.
    • Water the newly planted camellia thoroughly.
  4. Watering: Keep the soil consistently moist but not waterlogged. Water deeply and infrequently, allowing the soil to dry slightly between watering sessions. Avoid overwatering, as excessive moisture can lead to root rot.

  5. Mulching: Apply a layer of organic mulch, such as bark chips or pine straw, around the base of the plant. This will help conserve moisture, regulate soil temperature, and suppress weed growth.

  6. Fertilizing: Camellias benefit from regular fertilization. Use a slow-release, balanced fertilizer formulated for acid-loving plants, following the instructions on the package. Apply the fertilizer in early spring before new growth begins.

  7. Pruning: Prune camellias after they finish blooming to shape the plant and remove any dead or diseased branches. Avoid heavy pruning, as it may reduce flowering. Lightly trim the plant to maintain its natural form.

  8. Pest and disease control: Monitor your camellias for pests such as aphids, scales, and spider mites. Treat any infestations promptly with organic insecticides or horticultural oils. Watch for signs of fungal diseases like leaf spot or root rot, and provide proper care to minimize their occurrence.

  9. Winter protection: If you live in a region with cold winters, protect your camellias from freezing temperatures by covering them with frost blankets or burlap. Mulching around the base of the plant can also help insulate the roots.

  10. Enjoy the blooms: Camellias typically bloom in late fall, winter, or early spring, depending on the variety. Once they start blooming, you can enjoy their beautiful flowers. Cut flowers for indoor arrangements, if desired, by snipping the blooms at their base.

By providing the right conditions and care, you can successfully grow camellias and enjoy their stunning blooms year after year.


How to propagate lily?

5 Mix Asiatic Oriental Lilies Bulbs Spring Lily Flower Perennials Gardens  Plants | eBay

Lilies can be propagated through several methods, including division, scaling, and bulbils. Here's a step-by-step guide on how to propagate lilies using each method:

  1. Division:

    • Timing: The best time to divide lilies is in early spring or late fall when the plants are dormant.
    • Dig up the lily bulb clump carefully, taking care not to damage the bulbs or roots.
    • Separate the individual bulbs from the clump, ensuring that each bulb has its own set of roots.
    • Cut off any damaged or diseased parts of the bulbs.
    • Plant the divided bulbs in a prepared garden bed or containers, ensuring they are at the appropriate planting depth (typically 2-3 times the bulb's height).
    • Water the newly planted bulbs thoroughly and provide them with proper care to encourage growth.
  2. Scaling:

    • Timing: Scaling is typically done in late summer or early fall.
    • Select healthy lily bulbs and remove any outer scales, leaving the inner scales intact.
    • Place the scales in a plastic bag with a moistened medium such as peat moss or a mixture of peat moss and vermiculite.
    • Store the bag in a cool location (around 41°F/5°C) for several weeks to allow the scales to develop bulblets.
    • After bulblets have formed, remove them from the scales and plant them in containers or a prepared garden bed.
    • Provide proper care and monitor the bulblets' growth until they mature into flowering-sized bulbs.
  3. Bulbils:

    • Some lily species produce bulbils, small bulb-like structures that form in the leaf axils.
    • When the bulbils are mature and about the size of a pea, gently remove them from the plant.
    • Plant the bulbils in a container or a prepared garden bed, burying them at a shallow depth.
    • Water the bulbils regularly and provide proper care to encourage their growth.
    • It may take a few years for the bulbils to develop into flowering-sized bulbs, but they will eventually produce lily plants.

Regardless of the propagation method used, it's important to provide proper care to the newly propagated lilies, including regular watering, fertilization, and protection from extreme weather conditions. With patience and attention, you can successfully propagate lilies and enjoy a beautiful display of flowers in your garden.


How to propagate peonies?

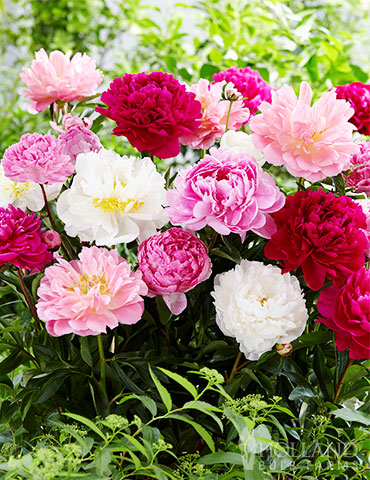
 Peony Mix | Peonies for Planting in Fall | Paeonia lactiflora Mix

Peonies can be propagated through division, which is the most common and reliable method. Here's a step-by-step guide on how to propagate peonies:

  1. Timing: The best time to propagate peonies through division is in early fall when the plant is dormant or in early spring before new growth starts. Choose a day when the weather is cool and dry.

  2. Prepare the plant: Dig up the peony plant carefully using a garden fork or spade. Try to dig around the entire plant, keeping the root system intact.

  3. Cleaning and dividing: Shake off any excess soil from the root clump and carefully separate the clump into smaller sections. Each section should have at least 3-5 healthy buds (known as "eyes") and a sufficient amount of roots attached.

  4. Cutting and treating: Use a clean, sharp knife or garden shears to cut the divisions. Make clean cuts, avoiding any ragged edges. Treat the cut surfaces with a fungicide to prevent rot.

  5. Soil preparation: Prepare the planting area by loosening the soil and adding organic matter such as compost or well-rotted manure. Peonies prefer fertile, well-draining soil.

  6. Planting: Dig a hole for each division, ensuring it is wide and deep enough to accommodate the roots without bending or crowding. Place the division in the hole with the eyes facing upwards and the top of the root crown at or slightly below ground level. Backfill the hole with soil, firming it gently around the roots.

  7. Watering and mulching: Water the newly planted divisions thoroughly to settle the soil around the roots. Apply a layer of mulch around the plants to help retain moisture and suppress weeds.

  8. Care and maintenance: Provide regular watering, especially during dry periods, but avoid overwatering to prevent rot. Keep the area around the plants weed-free. Fertilize with a balanced slow-release fertilizer in early spring. As the new growth emerges, provide support with stakes or cages to prevent the heavy flowers from drooping.

  9. Patience: It may take a year or two for the newly propagated peonies to establish and start blooming. Be patient and continue to provide proper care to encourage healthy growth.

Remember, peonies are long-lived plants, and proper care and maintenance will ensure their continued health and beauty. With division, you can propagate your peonies and enjoy additional plants in your garden.


How to propagate dahlia flowers?

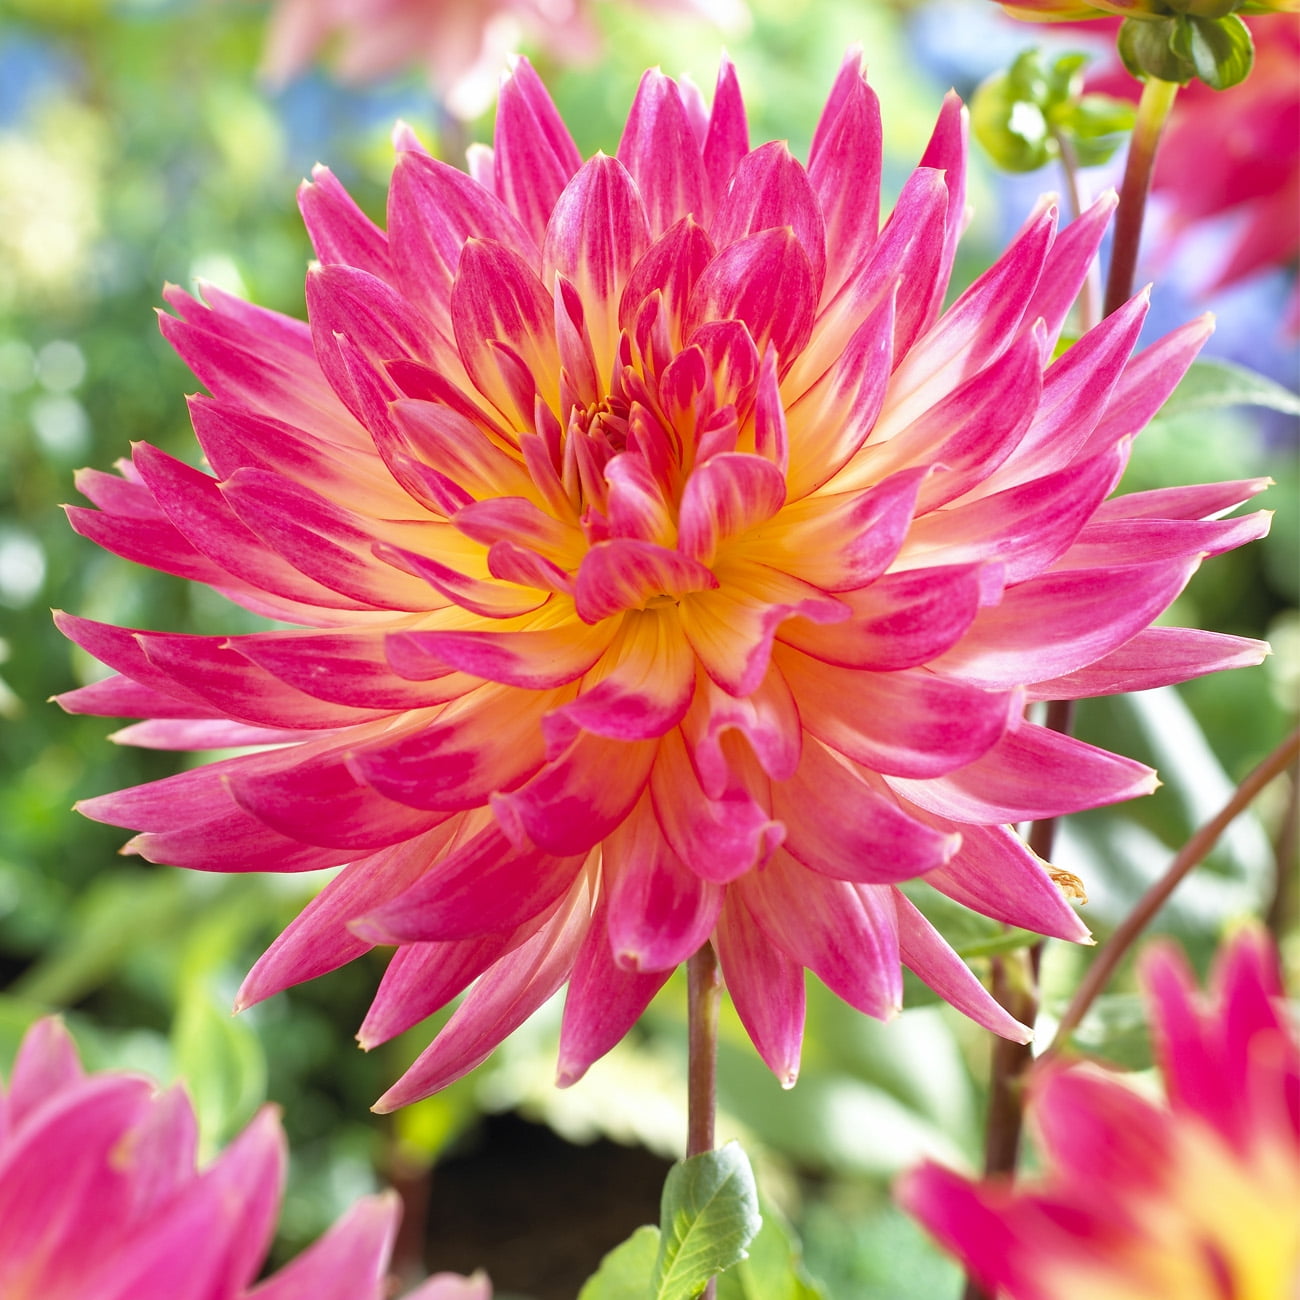
 Van Zyverden Dahlia Magic Sunrise Dormant Flower Bulb Full Sun, Multi-Color

Dahlias can be propagated through several methods, including division, cuttings, and seed. Here's how you can propagate dahlia flowers using each method:

  1. Division:

    • Wait until early spring or late fall when the dahlia plant is dormant.
    • Dig up the dahlia tuber carefully, making sure not to damage the roots.
    • Divide the tuber into sections, ensuring that each section has at least one eye (a bud or sprout).
    • Dust the cut sections with a fungicide to prevent rot.
    • Plant each tuber section in a new location or container, ensuring the eye is facing upward and the tuber is covered with about 2-3 inches of soil.
    • Water the newly planted tubers and provide them with proper care to encourage growth.
  2. Cuttings:

    • Select a healthy dahlia plant with strong stems and foliage.
    • Using clean, sharp shears, take a cutting from a lateral shoot or stem that is about 4-6 inches long.
    • Remove the lower leaves from the cutting, leaving only a few sets of leaves at the top.
    • Dip the cut end of the cutting in a rooting hormone powder or gel to promote root development (optional).
    • Plant the cutting in a container filled with a well-draining potting mix or in a prepared garden bed.
    • Keep the soil moist and place the cutting in a warm, bright location with indirect sunlight.
    • After a few weeks, the cutting should develop roots and can be transplanted into a larger pot or garden bed.
  3. Seed:

    • Collect ripe dahlia seeds from the seed heads after the flowers have faded and formed seed pods.
    • Dry the seeds in a cool, dry location for a few days.
    • Fill a seed tray or small pots with a well-draining seed-starting mix.
    • Sow the dahlia seeds on the surface of the soil and lightly press them into the soil.
    • Cover the tray or pots with a plastic dome or clear plastic wrap to create a greenhouse-like environment.
    • Place the tray or pots in a warm location with indirect sunlight.
    • Keep the soil consistently moist but not waterlogged.
    • Once the seedlings have developed a few sets of leaves, they can be transplanted into individual pots or garden beds.

Regardless of the propagation method used, it's important to provide proper care to the newly propagated dahlias, including regular watering, fertilization, and protection from extreme weather conditions. With patience and attention, you can successfully propagate dahlias and enjoy an abundance of beautiful flowers.


How to propagate madagascar jasmine?

 Amazon.com : yunakesa 10 Seeds Madagascar Jasmine Vine Stephanotis  Floribunda Fragrant Houseplant Bridal Wreath White Hawaiian Wedding Flower  Lulu Certified Can Grow in Pot/Garden : Patio, Lawn & Garden

Madagascar jasmine (Stephanotis floribunda) can be propagated through stem cuttings. Here's a step-by-step guide on how to propagate it:

  1. Select a healthy parent plant: Choose a mature and healthy Madagascar jasmine plant from which you will take cuttings. Look for a plant with vigorous growth and no signs of diseases or pests.

  2. Prepare the tools and materials: Gather a clean, sharp pair of pruning shears or scissors, a clean container filled with a well-draining potting mix, and a rooting hormone powder or gel (optional).

  3. Take stem cuttings: Select a stem that is about 4-6 inches long and has several pairs of leaves. Make a clean cut just below a leaf node (the point where the leaf emerges from the stem).

  4. Remove lower leaves: Remove the leaves from the lower two-thirds of the cutting, leaving only a few leaves at the top. This helps reduce moisture loss and directs the plant's energy towards root development.

  5. Optional: Apply rooting hormone: If desired, dip the cut end of the stem in a rooting hormone powder or gel. This can help promote root development, although it is not necessary.

  6. Plant the cutting: Make a small hole in the potting mix using a pencil or your finger. Insert the lower end of the cutting into the hole, ensuring it is planted deep enough to cover the node area.

  7. Water and provide appropriate conditions: Water the cutting lightly to settle the soil around it. Place the container in a warm, bright location with indirect sunlight. Avoid direct sunlight as it can be too intense for the newly propagated cutting.

  8. Maintain humidity: To maintain humidity around the cutting, you can cover the container with a clear plastic bag or use a propagating tray with a clear lid. This helps create a mini greenhouse effect and keeps the cutting moist.

  9. Monitor and care for the cutting: Check the cutting regularly to ensure the soil remains slightly moist but not waterlogged. Mist the cutting occasionally to maintain humidity if necessary. Avoid overwatering, as excessive moisture can lead to rot.

  10. Transplanting: After a few weeks or when the cutting has developed a healthy root system, gently tug on the stem to feel resistance. This indicates that roots have formed. At this point, you can transplant the rooted cutting into a larger pot or into the ground, following the same care guidelines as for a mature Madagascar jasmine plant.

Remember to be patient, as it can take several weeks for the cutting to develop roots. By providing the right conditions and care, you can successfully propagate Madagascar jasmine and enjoy new plants.


How to propagate pink jasmine?

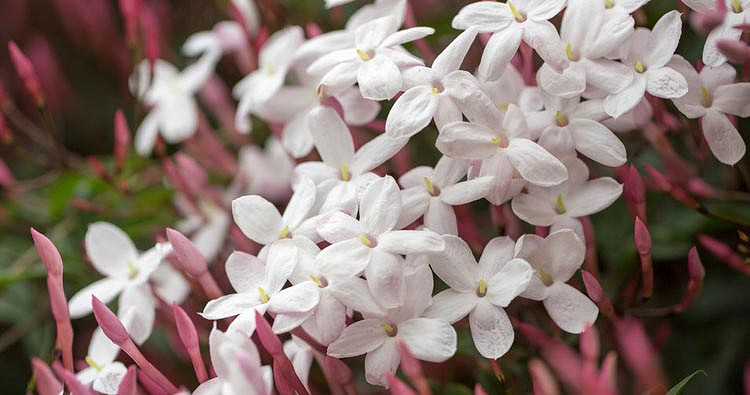
Jasminum polyanthum (Pink Jasmine)

Propagating pink jasmine (Jasminum polyanthum) can be done through stem cuttings. Here's how you can propagate it:

  1. Select a healthy parent plant: Choose a mature and healthy pink jasmine plant from which you will take cuttings. Ensure the parent plant is free from diseases or pests.

  2. Prepare the tools and materials: Gather a clean, sharp pair of pruning shears or scissors, a clean container filled with a well-draining potting mix, and a rooting hormone (optional).

  3. Take stem cuttings: Select a stem that is about 4-6 inches long and has no flowers or buds. Make a clean cut just below a leaf node (the point where the leaf emerges from the stem).

  4. Remove lower leaves: Remove the leaves from the lower two-thirds of the cutting, leaving only a few leaves at the top.

  5. Optional: Apply rooting hormone: If desired, dip the cut end of the stem in a rooting hormone powder or gel. This can help promote root development, although it is not necessary.

  6. Plant the cutting: Make a small hole in the potting mix using a pencil or your finger. Insert the lower end of the cutting into the hole, ensuring it is planted deep enough to cover the node area.

  7. Water and provide appropriate conditions: Water the cutting lightly to settle the soil around it. Place the container in a warm, bright location with indirect sunlight. Avoid direct sunlight as it can be too harsh for the newly propagated cutting.

  8. Maintain humidity: To maintain humidity around the cutting, you can cover the container with a clear plastic bag or use a propagating tray with a clear lid. This helps create a mini greenhouse effect and keeps the cutting moist.

  9. Monitor and care for the cutting: Check the cutting regularly to ensure the soil remains slightly moist but not waterlogged. Avoid overwatering, as excessive moisture can lead to rot. Mist the cutting occasionally to maintain humidity if necessary.

  10. Transplanting: After a few weeks or when the cutting has developed a healthy root system, gently tug on the stem to feel resistance. This indicates that roots have formed. At this point, you can transplant the rooted cutting into a larger pot or into the ground, following the same care guidelines as for a mature pink jasmine plant.

Propagation success can vary, so it's a good idea to take multiple cuttings to increase your chances of success. Patience is key during the propagation process, as it can take several weeks for roots to develop. With proper care and attention, your propagated pink jasmine cuttings can grow into new healthy plants.


How to grow a healthy Drawf Banana plant

  The Ultimate Guide to Growing Your Own Dwarf Banana Tree 🌴 Growing a dwarf banana tree is the easiest way to bring a lush, tropical oasi...