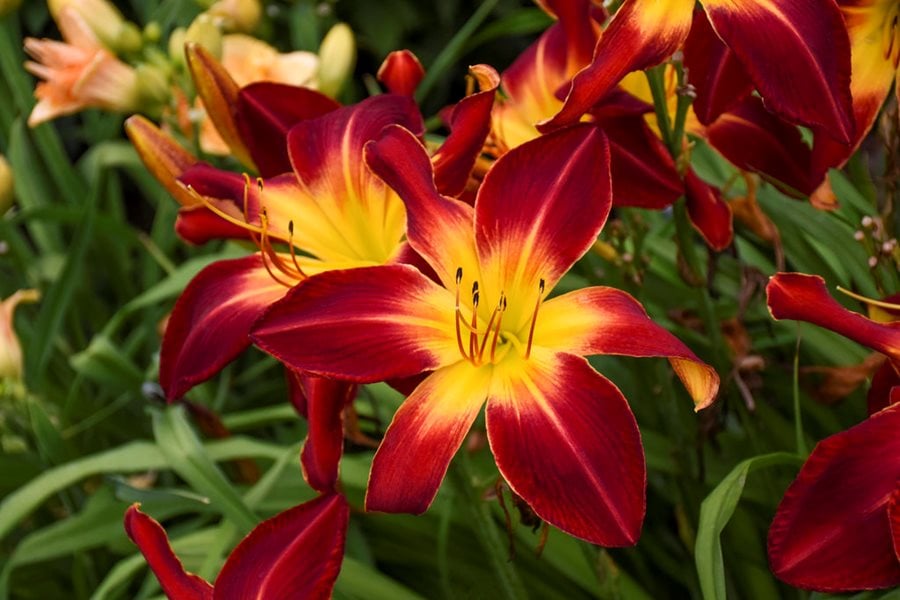
Daylilies, or Hemerocallis, are beautiful and low-maintenance perennial flowers that come in a wide variety of colors and forms. Here's a step-by-step guide on how to grow daylilies:
Sunlight and soil: Daylilies prefer a location with full sun to light shade. They can tolerate a wide range of soil types but thrive best in well-draining soil that is rich in organic matter. Prepare the soil by removing weeds, rocks, and debris, and amend it with compost or well-rotted manure to improve fertility and drainage.
Planting time: Daylilies can be planted in spring or fall. Spring planting allows the plants to establish before the heat of summer, while fall planting allows them to establish roots before winter.
Planting: Dig a hole that is wide and deep enough to accommodate the roots of the daylily plant. Place the plant in the hole, spreading out the roots evenly. The crown of the plant (where the leaves emerge) should be at or slightly above the soil level. Backfill the hole with soil, firming it gently around the roots. Space daylilies about 18-24 inches (45-60 cm) apart to allow for their spreading growth habit.
Watering: Water the newly planted daylilies thoroughly to settle the soil and ensure good root-to-soil contact. Keep the soil evenly moist but not waterlogged during the establishment period. Once established, daylilies are moderately drought-tolerant and can withstand some dryness between waterings. Water deeply when the top inch (2.5 cm) of soil feels dry.
Mulching: Apply a layer of organic mulch, such as straw or shredded bark, around the base of the plants. Mulching helps conserve moisture, suppress weed growth, and regulate soil temperature. Leave a gap between the mulch and the crowns of the daylilies to prevent moisture buildup and potential rot.
Fertilization: Daylilies are not heavy feeders but benefit from regular fertilization. Apply a balanced, slow-release fertilizer or a granular fertilizer specifically formulated for flowering perennials in early spring when new growth emerges. Follow the package instructions for the recommended amount and frequency of application.
Maintenance: Daylilies require minimal maintenance. Remove spent flower stalks by cutting them back to the base of the plant. Deadhead the flowers regularly to encourage continuous blooming. Remove any yellow or brown leaves and trim back foliage in late fall or early spring to maintain a neat appearance.
Division: Over time, daylilies can become crowded, affecting their performance and blooming. Every 3-4 years, consider dividing the daylilies to rejuvenate them. The best time to divide daylilies is in early spring or after they finish blooming. Dig up the clump, carefully separate the individual fans or divisions, and replant them in prepared soil. Trim the foliage by about one-third to reduce stress on the newly divided plants.
Pests and diseases: Daylilies are generally resistant to pests and diseases. However, keep an eye out for common issues such as aphids or slugs. Treat any infestations promptly using appropriate methods. Proper spacing and good airflow can help prevent disease problems like crown rot or leaf spot.
Daylilies are known for their reliable performance and stunning blooms. With proper care and attention, they can provide years of beauty in your garden.

No comments:
Post a Comment